Tag Archives: Soulmask

How to Set Up a Private Server in Soulmask – GameSkinny

If you’re not happy with the official servers in Soulmask, then it’s time to set up your own dedicated server for the game, where you can create the best possible environment for yourself and your friends. In this guide, I’ll explain how to set up a private server in Soulmask, including a list of all startup parameters.

Soulmask: How to Set Up a Private Server

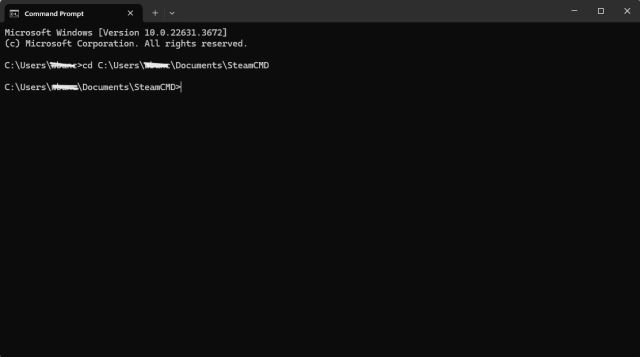
Step 1: Install Steam Console Client

The Soulmask dedicated servers run on Steam Console Client, also known as SteamCMD. That’s why you need to install the official server client once you’re able to purchase hosting on either ClawCloud or G-Portal:

  1. Download SteamCMD for Windows.
  2. Create a “SteamCMD” folder on the root of the C:\ drive of your server.
  3. Extract the contents of the zip file and put them in that folder.

Source link

All Soulmask console commands, listed

While the grindy nature of survival games is appealing for some people, nobody can blame you for wanting to speed things up a bit in Soulmask.

If you’re playing on a dedicated server, you can do exactly that. There aren’t as many console commands for Soulmask as most other cheat-friendly games typically have, but there are enough to give you complete control over the rules of your world.

How to use console commands in Soulmask

Waiting for the grass to grow? There’s a command for that. Screenshot by Dot Esports

It’s important to know you can only use console commands in a private dedicated server. This unfortunately means, at least for the time being, single-player games (and, of course, public servers) will be strictly rule-bound. The other important caveat is you can only…


Source link

Soulmask Dedicated Server Setup Guide

Setting up a dedicated server for you and your friends in any game can be a bit of a daunting task, and Soulmask is quite a bit more complex than most. But worry not, for in this guide, I’ll go through the process step by step.

How do you run a dedicated server in Soulmask?

Before I begin, I do have some quick forewords:

  • This guide will cover the installation process for Windows only.
  • You’ll need some kind of extraction software for this process, such as WinRar or 7Zip, which are both available for free online.
  • Running a Soulmask server can be quite resource-intensive, and at least 32GB of RAM is recommended for running with a few players.
  • Later on, Port Forwarding will be discussed. However, due to the highly complex nature of this process and the massive variations depending on…

Source link

How to set up a dedicated server for Soulmask

Soulmask is the latest in a long line of massively popular 2024 survival games, and just like all the others, you have to take matters into your own hands if you want to play the game on a private online server.

Thankfully, setting up a dedicated server for Soulmask doesn’t seem to be nearly as tedious as the process has been for other games in the past (looking right at you, Palworld). Still, the nature of the beast dictates that there is absolutely nothing intuitive about the process, so you’re still going to want to follow a guide closely.

Here’s how to set up a dedicated server in Soulmask.

How to set up and host a dedicated Soulmask server

A screenshot of command lines being input in Windows Prompt.
It’s not as hard as it looks. Screenshot by Dot Esports

To start a dedicated server in Soulmask, you’ll need to first download


Source link

How to create a dedicated server in Soulmask

Soulmask is fun enough on your own, but playing with friends elevates the experience to a whole new level. If you want to create a custom world just for your group, you can even host your own dedicated server in Soulmask without much hassle.

Creating a dedicated server sounds scary on paper if you’ve never done it before, but it’s actually pretty simple. If you want to host your own custom Soulmask server, here’s what you need to do.

How to Make a Custom Server in Soulmask

To create a dedicated server in Soulmask, just follow these steps.

  1. Create a new folder to hold your server’s files.
  2. Download SteamCMD for Windows.
  3. Extract the files to a folder in the root directory of your C drive (or whatever drive Steam is installed on).
  4. Search for “CMD” in Windows and open Command…

Source link